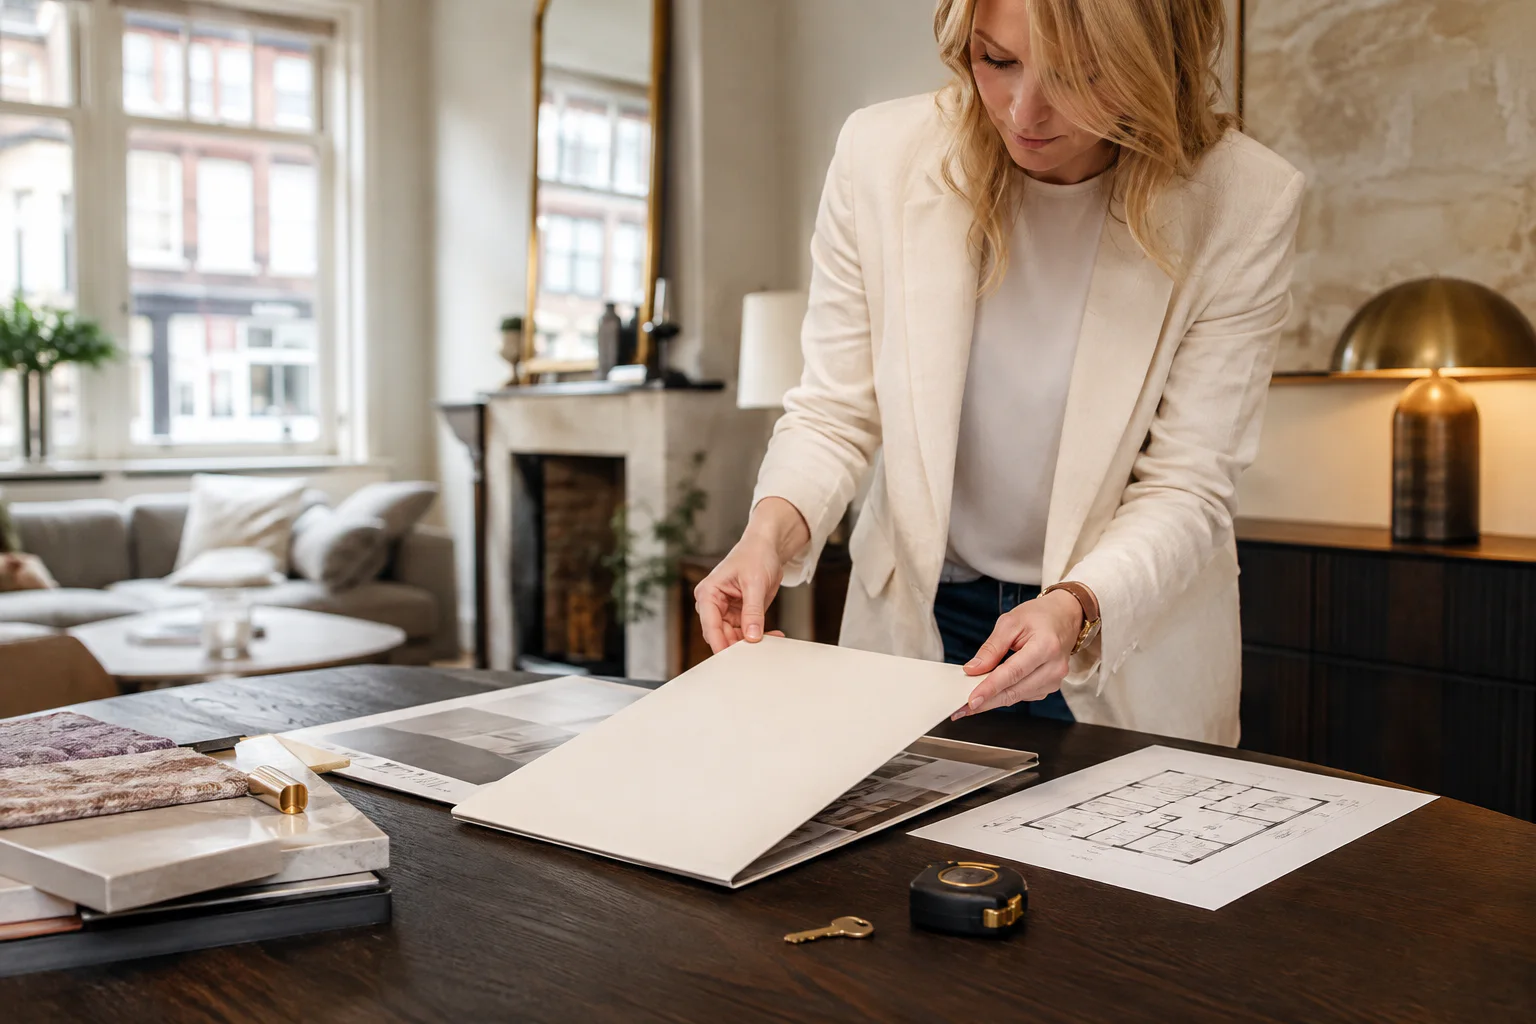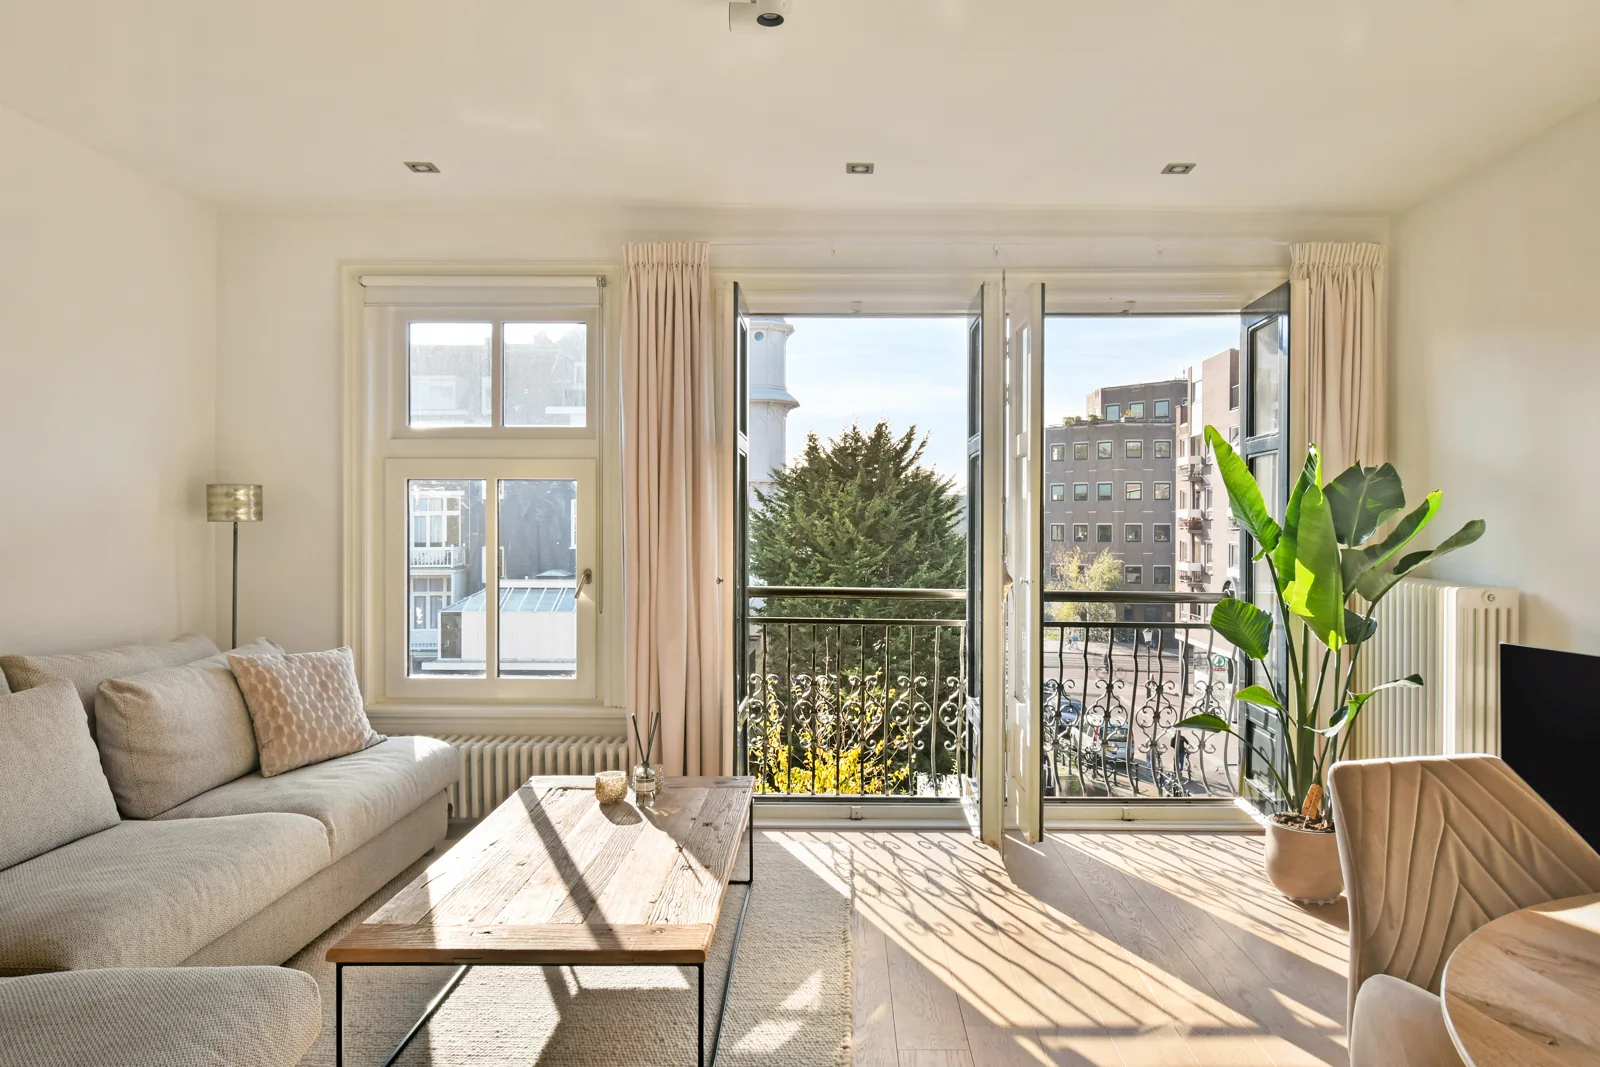
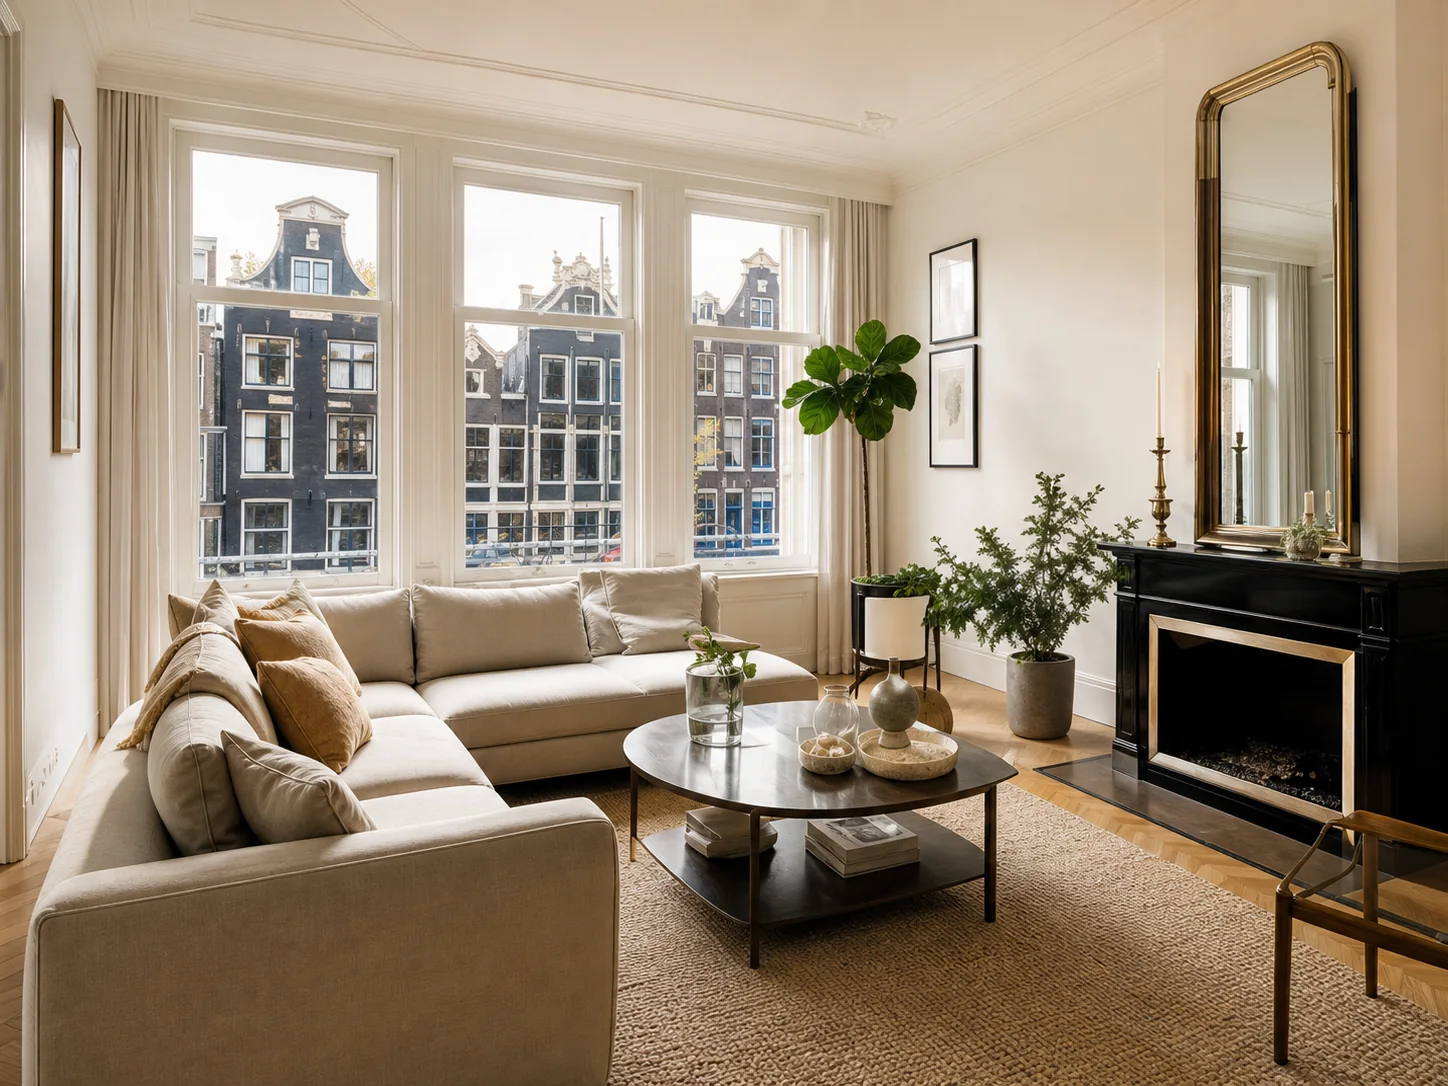
Getting your Amsterdam home ready to sell? Start with the paperwork, then decide what needs a small repair, a styling adjustment or a little preparation before the photo shoot. Set the first viewing dates once you know what is still outstanding and who is handling it. That saves you from chasing missing documents in the week your listing goes live.
Quick checklist before your listing goes live
- Check that your energy label is still valid and gather the documents for your estate agent.
- Fill in the seller’s questionnaire and list what will stay, what you are taking and what the buyer can take over by agreement.
- Clear walkways and finish small repairs before the photographer arrives.
- Review the listing, photos and floor plan with your agent.
- Agree how viewers will get in and who can unlock the storage unit or other spaces.
1. Gather your documents before the photo shoot
Look up your energy label in EP-Online and check that it is still valid. A valid label is generally required when selling a home. If yours has expired or is missing, book an energy assessor early. Find your ownership deed as well and ask your estate agent which other documents apply to your property.
Use the seller’s questionnaire to record what you know about the property. For example, mention a past leak and describe the repairs. Use the fixtures and fittings list to clarify what is included, such as curtains, light fittings or a freestanding cupboard. If you are selling an apartment, ask the owners’ association (VvE) early for the current monthly fee, recent meeting minutes and the maintenance plan, if available.
2. Finish small repairs and make room
Walk through the home from the front door as if you were visiting for the first time. Does the door close smoothly? Do all the lights work? Can you get past the dining table to the balcony easily? Tightening a loose handle, cleaning the windows and temporarily moving surplus furniture are all manageable jobs before the shoot.
Think about the spaces you hardly notice any more. For an upstairs flat in Oud-West, that might be the route from the communal stairs to your front door. In a flat with a small balcony, make sure the door opens fully and people can step outside. Discuss bigger expenses, such as new flooring, with your estate agent first. Record known defects separately in the sale documents.
3. Prepare for photography and check the listing
Choose a time with the photographer when the main rooms get good daylight. Put away family photos and post, and clear windowsills and worktops. Leave enough furniture to show how a room can be used. A small dining table in a narrow living room, for example, can make the layout easier to understand.
Review the listing with your agent before publication. Is the floor correct and is it clear where the storage unit is? Does the floor plan match what viewers will see? Check whether the outdoor space is a private balcony or a shared roof terrace and make that clear in the listing.
4. Do a trial run before the viewings
Set aside the keys to the storage unit, bike store and any rear access. Agree which bell viewers should ring and who will meet them. If you are still living there, choose a place for laundry, toys and pet supplies so you only need a quick tidy before each viewing.
Frequently asked questions about getting your home ready to sell
Do I need professional home staging?
You can often do a lot with your own furniture, good lighting and a clear layout. For an empty home or a room whose purpose is hard to picture, ask about staging that specific space. Start by identifying which room would benefit most.
Can I have photos taken before the sale paperwork is ready?
Yes. You can arrange photography while you gather the paperwork. Agree with your estate agent which documents and details you need before publication. Set the launch date once you have that information and have reviewed the listing.